
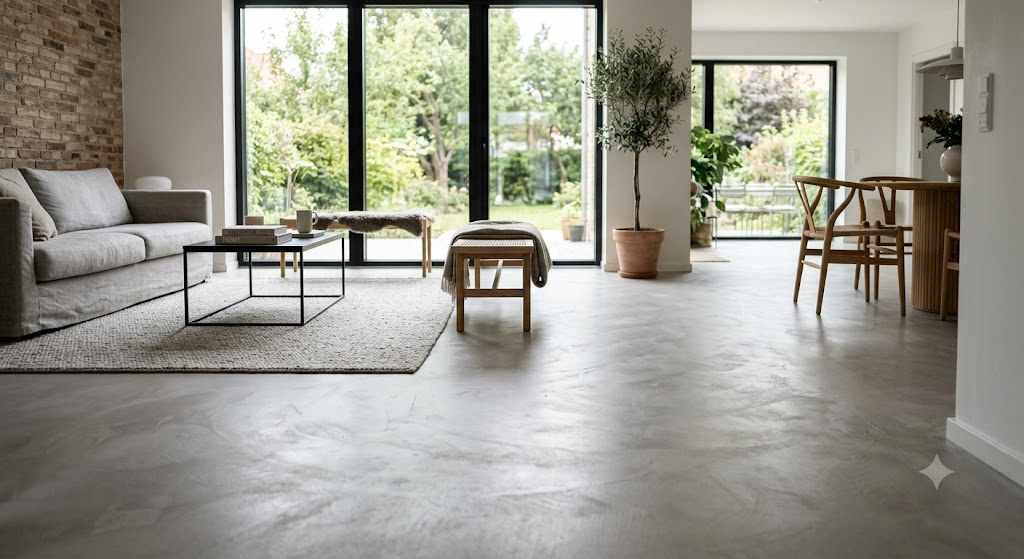
Resin flooring has become increasingly popular in the UK, not only for industrial and commercial environments but also for residential spaces. Its seamless finish, durability, and modern aesthetic make it a top choice for homeowners and businesses alike. Whether you’re renovating a workshop, upgrading your space, or looking for a contemporary touch in your home, UK resin flooring delivers a perfect balance of function and style.
At BT Microcement Ltd, we specialize in high-quality resin and microcement flooring solutions tailored to the needs of UK clients. To help you understand the process, this step-by-step guide will walk you through everything involved in installing resin flooring from preparation to finishing touches.
Step 1: Assess the Area and Plan the Project
The first step in installing resin flooring is to carefully assess the area. Every space is unique, and understanding the condition of the existing substrate is crucial. Resin flooring works best on a sound, clean, and level surface.
Check for cracks or damage: Any imperfections must be repaired to ensure a flawless final finish.
Evaluate moisture levels: Resin should not be applied to damp substrates, as this can lead to bubbling or lifting later on.
Plan the design: Decide on the colour, texture, and finish. Resin flooring is available in matte, gloss, or decorative options, including flakes and metallics.
Proper planning helps avoid delays and ensures you achieve the desired look and performance.
Step 2: Prepare the Surface
Surface preparation is one of the most important steps in resin flooring installation. Without it, even the highest-quality resin will not bond correctly.
Cleaning: Remove dirt, grease, oil, or adhesives from the surface.
Mechanical preparation: Techniques like diamond grinding or shot blasting are often used to create a rough surface for the resin to adhere to.
Repairs: Fill cracks and holes with epoxy repair compounds.
Levelling: Apply a screed if the floor is uneven, ensuring a smooth, level foundation.
At this stage, any shortcuts can compromise the final result, so it’s best handled by professionals with the right equipment.
Step 3: Apply the Primer
A primer coat is essential to ensure strong adhesion between the substrate and the resin system. It seals the surface and helps prevent issues such as air bubbles. Depending on the substrate material, different primers may be used.
The primer is rolled or brushed on evenly and allowed to cure. In some cases, silica sand is broadcast over the primer while it is still wet to enhance bonding with the next layer.
Step 4: Mix and Apply the Base Resin Layer
The resin itself is typically supplied in two or more components that must be mixed thoroughly before application. Accuracy is critical at this stage – incorrect ratios can lead to uneven curing.
Once prepared, the base layer is applied using rollers, squeegees, or trowels. This layer provides the main body of the flooring system, offering strength and durability. The thickness of the base coat will vary depending on the type of resin system being used, such as epoxy, polyurethane, or polyaspartic.
Step 5: Add Decorative Finishes
One of the key advantages of resin flooring is its versatility in design. If you’re looking for a simple, sleek surface, the base layer may be enough. However, many clients opt for decorative enhancements, such as:
Coloured flakes for a terrazzo-like appearance.
Metallic pigments for a striking, modern look.
Patterns are embedded within the resin for branding or personalization.
This stage allows you to truly customize the flooring to match your space’s character and style.
Step 6: Apply the Topcoat
The final topcoat seals and protects the floor, ensuring it withstands everyday wear and tear. This layer adds resistance to chemicals, stains, and scratches, while also enhancing the appearance. You can choose between a gloss, satin, or matte finish depending on your preference.
The topcoat not only improves durability but also makes the floor easier to clean and maintain – one of the reasons resin flooring is highly valued in kitchens, garages, and high-traffic commercial spaces.
Step 7: Allow for Curing Time
Curing is the process where the resin hardens to form a durable surface. Depending on the type of resin and environmental conditions, curing can take anywhere from 24 hours to several days. During this time, it is crucial to keep the area dust-free and avoid foot traffic until the floor is fully hardened.
Step 8: Ongoing Care and Maintenance
Once installed, resin flooring is relatively low maintenance, but a few simple practices can help extend its lifespan:
Regular cleaning with a neutral pH cleaner and a soft mop.
Avoid harsh chemicals that could damage the surface.
Promptly clean spills to prevent staining.
Periodic inspections to check for wear in high-traffic areas.
With proper care, resin flooring can last for many years without needing replacement.
Why Choose BT Microcement Ltd?
At BT Microcement Ltd, we pride ourselves on delivering seamless, high-quality resin flooring installations across the UK. Our team has extensive expertise in surface preparation, resin application, and decorative finishes, ensuring every project meets the highest standards.

We work closely with both homeowners and businesses, offering tailored solutions to suit each environment. Whether you're looking for a stylish living room upgrade, a practical garage floor, or a professional commercial installation, our resin systems offer long-lasting performance and contemporary design.
Final Thoughts
Installing resin flooring is a meticulous process that requires professional expertise, specialized equipment, and meticulous attention to detail at every step. From careful preparation and priming to applying base coats, decorative finishes, and protective topcoats, each stage contributes to a durable and visually striking result.
If you’re considering resin flooring in your home or commercial property, trust the experts at BT Microcement Ltd to deliver outstanding results. Contact us today to learn more about our services and transform your space with the beauty and strength of resin flooring.






Write a comment ...